MMF Summer Sale / App Update
As the summer sun blazes down (lol), there's no better time to retreat indoors and dive into some creative fun. The MyMiniFactory Summer Sale is in full swing, and with 11 days remaining as of August 29th, now's your chance to stock up on everything you need to bring your miniature kingdoms to life!
We're offering a sizzling 40% OFF with the code SUMMER24. Whether you're printing new miniatures or completing that collection you've had your eye on, now’s the time to snag those missing sets.
Don’t miss out—this amazing sale runs from August 12th to September 9th, 2024. Head over to our store and make the most of the season with some epic new additions to your collection!
App News
Our journey to build the ultimate free map planning app is moving full steam ahead, and we’re thrilled to share some of the latest features that are now live! map.hextonhills.com
We’ve been listening to your feedback and working hard to enhance your map planning experience.
Quick Note
Please be aware that some images are from an older test build and may contain spelling mistakes. Rest assured, these errors have been corrected in the current build.
Fill Selection
While this feature was included in the previous build, it’s definitely worth highlighting again due to its usefulness.
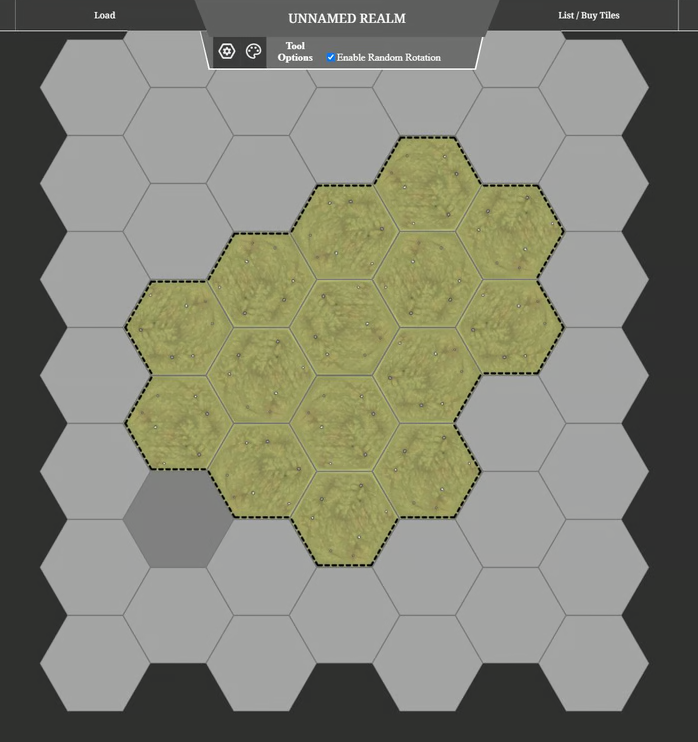
With the fill brush, you can easily select empty canvas hexes and fill a specified area, perfect for quickly laying out your map. Plus, it works seamlessly with random rotation enabled—just click the paint palette to access this option. This tool is especially handy when blocking out large territories with basic terrain like plains and hills, saving you time and effort in your map planning.
Copy and Paste between maps
We’re excited to introduce a powerful new feature: You can now copy and paste tiles, including multiple selections, between different maps! It’s as easy as it sounds—simply use Ctrl+C to copy, switch tabs, and then Ctrl+V to paste.
However, a quick heads-up: The first time you use this feature, you’ll need to allow a notification popup. When prompted, grant permission for map.hextonhills.com to 'See text and images copied to the clipboard'. If you don’t see the popup, you may need to adjust your browser settings. Just go to 'Permissions for this site' and unblock the Clipboard under the relevant settings.
This new capability makes it easier than ever to manage and customize your maps.
Changes to Settings
Show Tile Code Overlays: You can now easily find the 'Show tile code overlays' option under the settings panel. This feature is perfect for those who want a clear view of tile codes while working on their maps.
Export image scale: We’ve also introduced an 'Export image scale' function to help you manage the size of exported images more efficiently. This tool is particularly useful for avoiding issues when exporting large map images, ensuring your maps look their best without any hassle.
We’re thrilled to announce one of the biggest new features we've introduced: the 'Reference Image Settings' tab.
This powerful new addition allows you to work with reference images directly within the map editor. Whether you’re using a reference image to guide your map design or to overlay and align elements precisely, this new tab gives you the control you need.
Importing Reference
This feature is perfect if you already have a map designed digitally, sketched on paper, or if you're planning to adapt an iconic fantasy map. By using a reference image, you can align your design with existing layouts, ensuring accuracy and creativity in your map-making process.
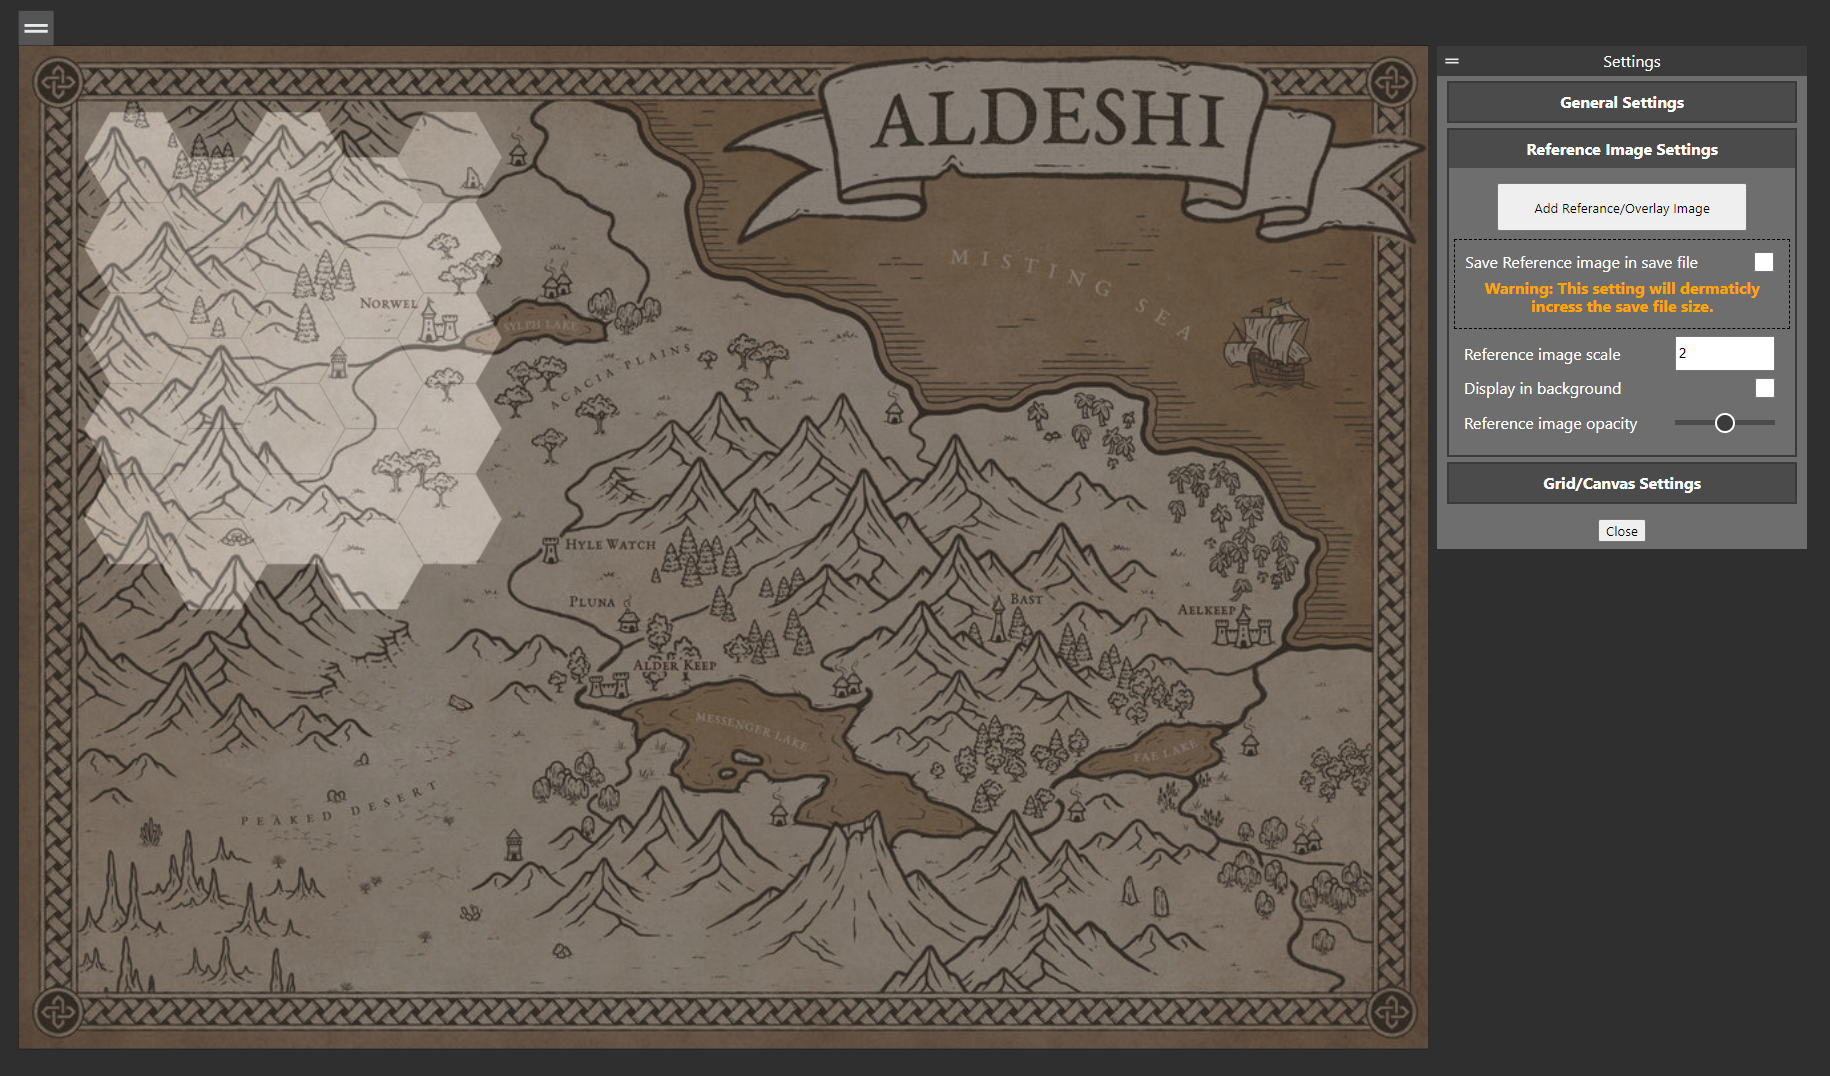
Image from deviant art - 'Aldeshi - Lake Region Fantasy Map' by MapEffects
By default, when you add a reference image, it will overlay directly on top of the hex canvas. If this is your preferred way to work, you can easily adjust the image's opacity to suit your needs and start placing down tiles right away.
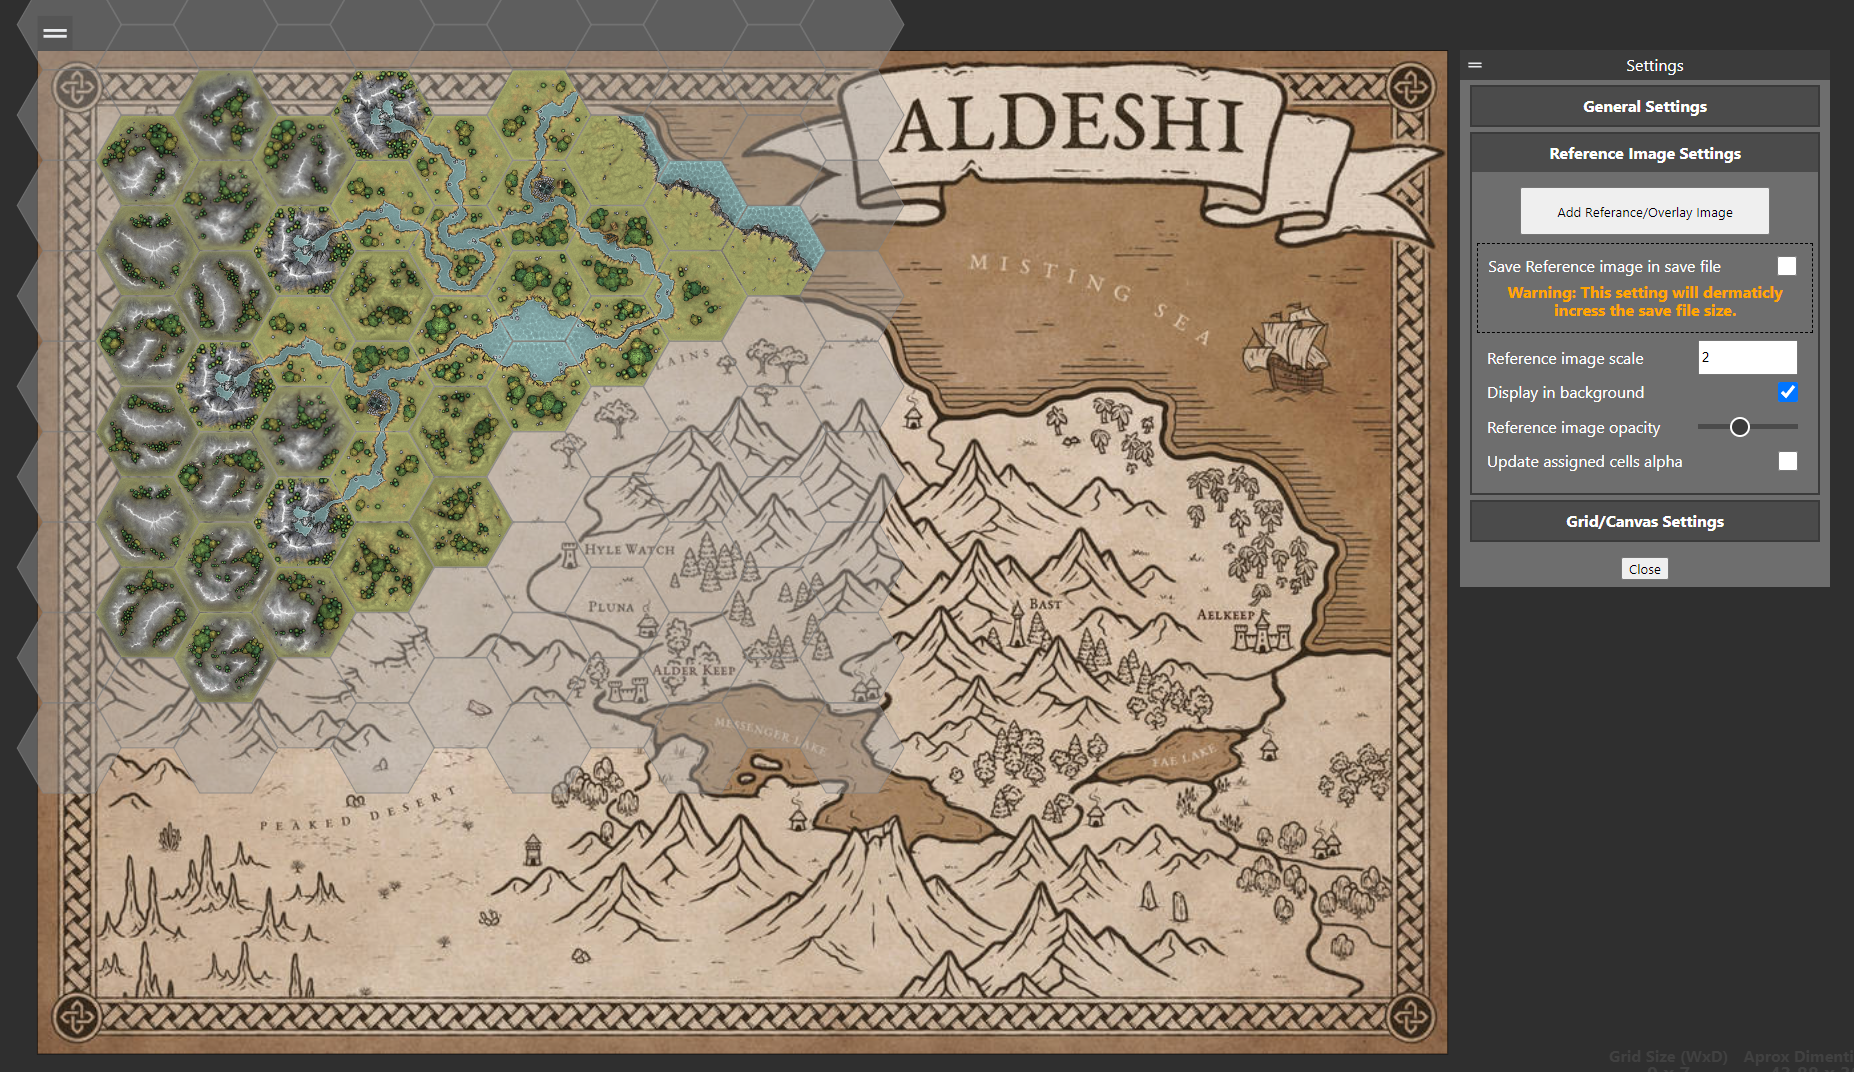
If you prefer to have your tiles in the foreground, you can simply tick the 'Display in background' box. This will move the reference image behind your hex canvas, allowing the tiles to display prominently on top.
When using this setting, the 'Reference image opacity' slider will control the opacity of the empty hexes on the canvas, giving you full control over how much of the reference image you want to see as you place your tiles.
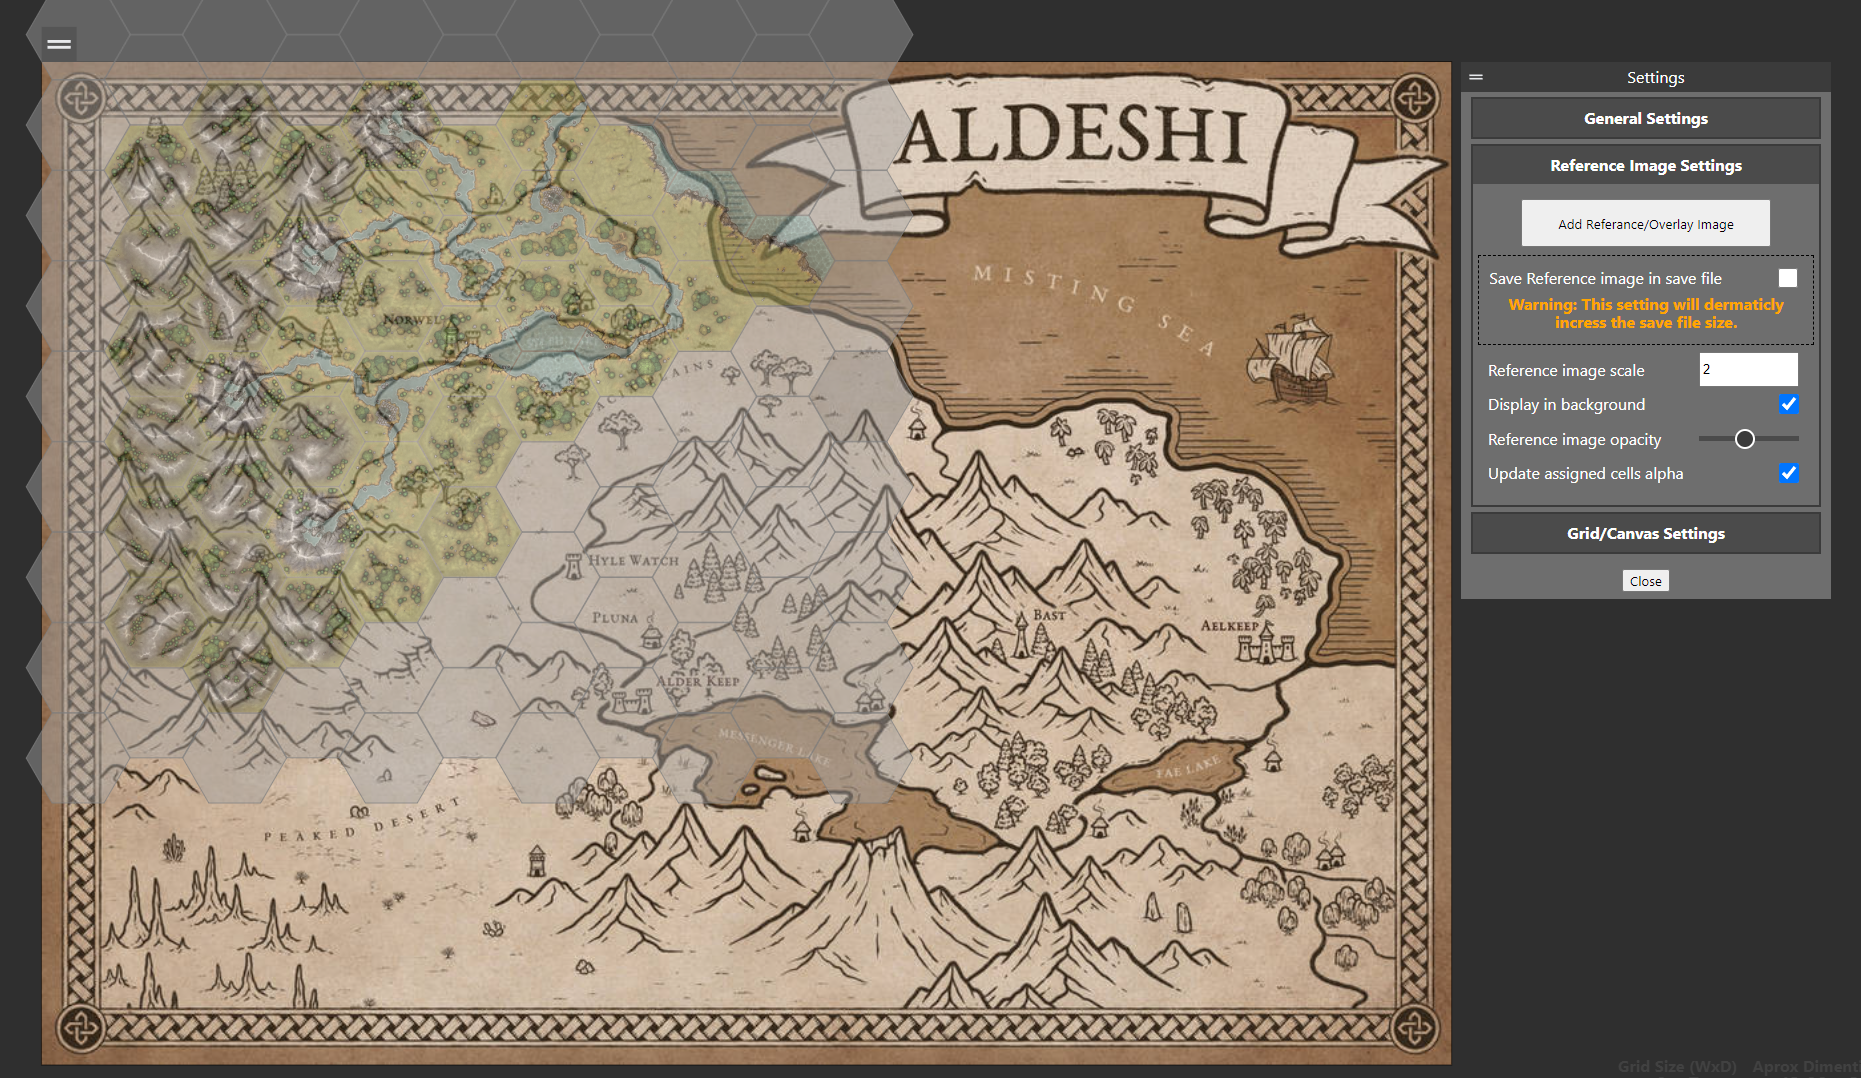
The 'Update assigned cells alpha' option gives you even more control over your map design. When enabled, both placed and empty tiles will respond to the image opacity slider, allowing you to adjust the transparency of the entire hex canvas.
This feature is particularly useful for double-checking the reference image behind your hexes, making it easier to ensure everything aligns perfectly. You can make any necessary adjustments with a clear view of how your tiles interact with the reference image.
Tile Descriptions
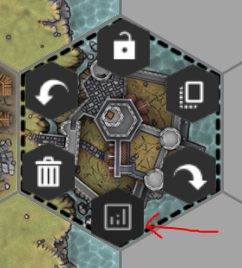
We’re excited to introduce the ability to add annotations and notes directly to your tiles! This new feature allows you to include a title, description, and marker on any tile, making it easier to keep track of important details. Additionally, you can display the region the tile belongs to, providing even more context and organization to your map.
Regions
We’ve renamed 'Groups' to 'Regions' to make the feature more intuitive and easier to understand.
To add a new region, simply click '+ New Region' under the Regions tab. This will create a pre-named region for you. Hover over the newly created region tab to expand it. You can rename the region by clicking on the pencil icon on the far right of the tab. If you need to delete the region, you can do so by clicking the delete option next to the pencil icon.
To the left of the region name, you'll see a color box. You can assign a color to the region by clicking on this box, making it easy to visually organize your map.
To personalize your regions, you can select any of the listed colors or click on the first icon to open a color palette and assign your own custom color.
Once you've chosen your color, start placing your region by clicking on its name. The selected region will be highlighted in light grey, making it easy to see which region you're currently working on.
To assign tiles to a region, simply hold Shift and click on the tiles one after the other. This makes it easy to group multiple tiles into the selected region quickly.
Whats next?
Elf City Mega Tile
The grand finale of Campaign 1 is almost here! The Elf City Mega Tile is nearly complete, so keep an eye out for its release very soon.
Tile Guides
We’re updating the tile guides to reflect the completed campaign. Expect new tile names that add extra flavor and enhance overall consistency. Don’t worry—serial codes (the numbers and letters along the edge of each tile) will remain unchanged.
App Images
We’re adding artwork and entries for the missing Epic City Sets, bringing the app’s visuals and content up to date.
App Features
New features are on the way, including mega hex compatibility, pathfinding and group rotation options, to make map planning more dynamic and versatile.
App Polish
We’re giving the app a fresh coat of polish! Expect improvements that make existing features more intuitive and enhance the overall user experience.
That’s it for now, but stay tuned—we’ll be back soon with the exciting Elf City Mega Tile!
As always,
Keep it hexy,
Dan & Jax

